 listicle
7 Essential Home Repairs for NJ Winter Preparation
Table of Contents
- How to Winterize a Home: The Essential Checklist
- 1. Seal Windows and Doors to Stop Drafts and Heat Loss
- 2. Preventing Frozen Pipes in Winter: Insulate and Protect
- 3. HVAC Winter Maintenance: Furnace Tune-Up and Filter Care
- 4. Clean Gutters and Install Guards to Prevent Ice Dams
- 5. Roof Inspection: Loose Shingles and Flashing Repairs
- 6. Insulate Attics and Crawlspaces for Thermal Efficiency
- 7. Test Safety Systems: Carbon Monoxide and Smoke Detectors
- Frequently Asked Questions
Last Updated: September 21, 2026
How to Winterize a Home: The Essential Checklist
Winterizing a home is the process of preparing its structure, systems, and exterior for freezing temperatures, snow, and ice before the first hard freeze arrives. This guide from Lone Eagle Home Services covers the 7 essential home repairs for NJ winter preparation that protect a property from the inside out. A FEMA guide to winter weather preparedness makes the stakes clear: burst pipes, ice dams, and heating failures are the most common causes of winter property damage, and nearly all of them are preventable with a few hours of fall work.
| # | Repair | Frequency | DIY or Pro | Why It Matters |
|---|---|---|---|---|
| 1 | Seal windows and doors | Annually | DIY | Stops drafts and heat loss |
| 2 | Insulate pipes | Annually | DIY or Pro | Prevents frozen pipes |
| 3 | HVAC tune-up | Annually | Pro | Restores heating efficiency |
| 4 | Clean gutters, add guards | Twice yearly | Pro | Prevents ice dams |
| 5 | Inspect roof and flashing | Annually | Pro | Protects structural integrity |
| 6 | Insulate attic and crawlspace | Every 10-15 years | Pro | Reduces heat loss |
| 7 | Test CO and smoke detectors | Monthly | DIY | Protects lives |
1. Seal Windows and Doors to Stop Drafts and Heat Loss
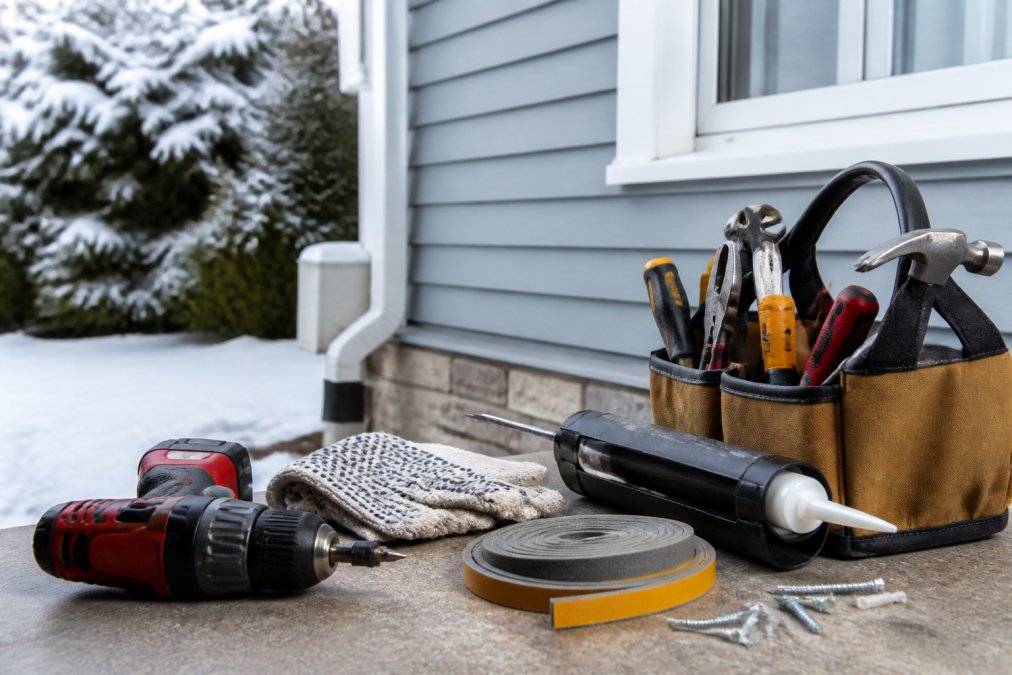
The fastest winter repair is sealing drafts. Run a hand along window frames and door edges on a cold day; moving air means that gap leaks heated air all season. Caulking and weather-stripping are the two standard fixes.
- Weather-stripping handles moving parts: door edges, window sashes, and sliding tracks. Foam tape products are inexpensive and install in minutes.
- Caulking handles fixed gaps: cracks in window frames, siding joints, and exterior trim. Use a weather-resistant exterior formula that stays flexible in freezing temperatures.
2. Preventing Frozen Pipes in Winter: Insulate and Protect
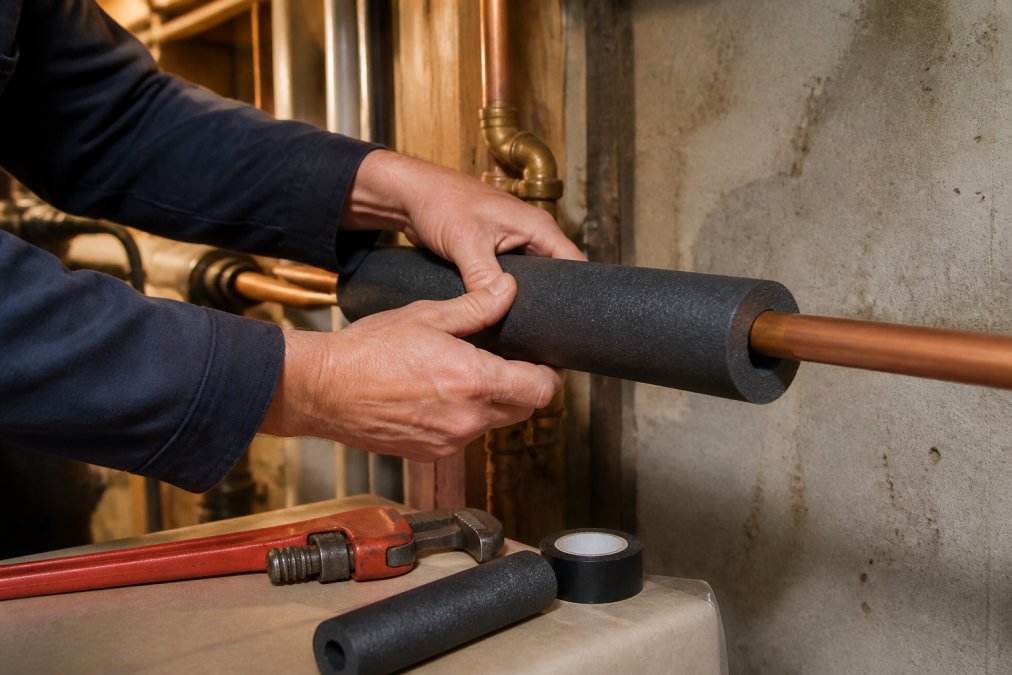
Preventing frozen pipes in winter comes down to two things: keeping pipes warm and giving expanding ice somewhere to go. Pipes in unheated spaces, basements, crawlspaces, garages, exterior walls, freeze first. Freezing water expands, splits copper or plastic, and the flooding shows up when the pipe thaws.
3. HVAC Winter Maintenance: Furnace Tune-Up and Filter Care
HVAC winter maintenance pays you back. A dirty furnace burns more fuel for the same heat, and a cracked heat exchanger can push carbon monoxide into living space. Book a professional tune-up before the first cold snap, not after the furnace quits on a 15°F night.
Your own part is simple and takes minutes:
- Replace the filter monthly during heating season, or per the manufacturer's guidance
- Keep two feet of clearance around the furnace and vents
- Vacuum return grilles so airflow stays unrestricted
- Listen for new rumbling or squealing, and call for service if you hear it
4. Clean Gutters and Install Guards to Prevent Ice Dams
Clogged gutters cause ice dams: snow melts on the warm roof, refreezes at the cold eave, and traps water that backs up under shingles. Clean gutters before the leaves finish falling, then again after autumn's last storm. From the ground, confirm downspouts discharge several feet from the foundation so meltwater doesn't pool against the basement wall.
5. Roof Inspection: Loose Shingles and Flashing Repairs
A roof inspection before winter catches the small failures that become leaks under snow load. Walk the perimeter with binoculars and check three things: curled, cracked, or missing shingles; loose flashing around chimneys and vents; and sagging that suggests decking trouble. Never walk a frost-covered roof yourself.
Why This Region's Roofs Fail Differently
Generic checklists treat snow as a uniform load. Here, nor'easters drop heavy, wet snow, often after wind-driven rain freezes into ice. That sequence matters:
- Wet snow is heavy. A foot of wet snow can weigh far more per square foot than a foot of dry powder, which is why older or already-weakened roof structures are the ones that fail.
- Wind-driven rain finds gaps. Rain pushed sideways by coastal and nor'easter winds drives water into places a straight-down rain never reaches, including under lifted flashing and into attic vents.
- Salt air accelerates corrosion. Within a few miles of the coast, metal flashing, fasteners, and gutter hangers corrode faster than inland. A flashing edge that looks fine from the ground may have fasteners that have rusted through.
- Ice dams form at the eave. When attic heat escapes, it melts snow on the upper roof; that meltwater refreezes at the cold eave and backs up under shingles. This is why the roof and the attic insulation in step six are the same problem viewed from two ends.
DIY Versus Licensed Contractor: Where the Line Sits
This part decides whether an insurance claim gets paid.
Safe for a homeowner to handle:
- A ground-level visual inspection with binoculars
- Clearing debris from valleys and behind chimneys with a roof rake while standing safely on the ground
- Photographing problem areas for a contractor or adjuster
Requires a licensed contractor:
- Any work on the roof surface itself, including sealing flashing and replacing shingles
- Anything involving the roof structure, decking, or load-bearing components
- Chimney work, which typically requires its own trade licensing
If you spot granule loss, multiple problem areas, or sagging, get a professional assessment before snow arrives. Roof work in freezing conditions is slower, costlier, and riskier, and emergency tarping costs far more than a scheduled fall repair.
6. Insulate Attics and Crawlspaces for Thermal Efficiency
Attic insulation and crawlspace sealing decide how much of your heating dollar stays in the house. Heat rises, so an under-insulated attic leaks warmth straight through the roof, which also feeds the ice dams from step four. In the crawlspace, cold air and ground moisture move upward into the floors above.
The Ice-Dam Feedback Loop
Ice dams are not a gutter or roof problem; they are an insulation and air-sealing problem that shows up on the roof.
- Warm air escapes from the living space through gaps in the attic floor.
- That warm air heats the underside of the roof deck.
- Snow on the upper roof melts and runs down as water.
- The eave stays cold because it overhangs the heated space, so the water refreezes there.
- Ice builds into a dam, and meltwater backs up under the shingles.
Crawlspaces: Moisture Control Comes With Insulation
Crawlspaces need moisture control alongside insulation. A sealed, insulated crawlspace keeps floors warmer and reduces the humidity that leads to rot and mold. Two common approaches behave differently:
- Vented crawlspaces rely on outside air to dry the space. In a cold, wet climate this can backfire, because winter air is cold and summer air is humid.
- Encapsulated (sealed) crawlspaces use a vapor barrier on the floor and walls, seal the vents, and insulate the walls. This is the approach most building-science practitioners now recommend for cold climates, but it must be done correctly or it traps moisture.
Federal Tax Credits and Rebates
- Check the U.S. Department of Energy and IRS resources for the current list of eligible improvements and the credit percentage.
- Confirm the product meets the program's performance requirements before purchase; not every insulation product qualifies.
- Keep receipts and manufacturer certifications, which you will need to claim the credit.
- Ask your contractor whether they document the work in a way that supports a credit claim.
If your attic has bare joists, visible gaps around pipes and lights, or insulation below the joist tops, you have room to improve. Have a professional measure the current R-value and quote the upgrade before winter.
7. Test Safety Systems: Carbon Monoxide and Smoke Detectors
Test every carbon monoxide and smoke detector, and replace the batteries whether they need it or not. Winter is when detectors matter most: closed windows, running furnaces, and backup heat sources all raise risk. Carbon monoxide is odorless, so the alarm is your only warning.
- Press the test button on every unit and confirm the alarm sounds
- Replace batteries in all units at the start of heating season
- Check the manufacture date; replace detectors older than 10 years
- Add a CO detector on every level and near sleeping areas if you don't have one
Frequently Asked Questions
What are the most critical home repairs to complete before winter?
Prioritize preventing frozen pipes in winter by insulating exposed pipes in attics, basements, and crawlspaces. Seal drafts around windows and doors with caulk and weather-stripping. Schedule HVAC winter maintenance to ensure your furnace runs efficiently. Clean gutters and check the roof for loose shingles. Test carbon monoxide and smoke detectors. These tasks prevent the costliest damage from ice dams, burst pipes, and heating failures.
How can I prevent frozen pipes during the winter months?
Insulate pipes in unheated areas like attics, garages, and crawlspaces using foam sleeves or heat tape. Disconnect outdoor spigots and drain exterior lines. During extreme cold, let faucets drip slightly to keep water moving. Keep cabinet doors open under sinks on exterior walls to allow warm air circulation. If you travel, maintain indoor temperatures above 55°F. These steps dramatically reduce the risk of burst pipes and water damage.
What are the signs that my roof needs repair before winter?
Look for missing, cracked, or curling shingles, and check flashing around chimneys and vents for gaps. Granules in gutters indicate shingle wear. Dark stains on interior ceilings or attic walls suggest leaks. After a storm, inspect for loose or displaced shingles. Addressing these issues before snow and ice arrive prevents ice dams and structural damage. A professional roof inspection can catch problems you might miss from the ground.
Why is gutter cleaning essential for winter home maintenance?
Clogged gutters cause water to back up under shingles and freeze, forming ice dams that force meltwater into your home. Debris also adds weight that can pull gutters away from the fascia. Clean gutters channel melting snow safely away from your foundation, preventing basement flooding and erosion. Installing gutter guards reduces how often you need to clean them. This simple task protects your roof, walls, and foundation all winter.
What are the benefits of a professional seasonal home tune-up?
A professional tune-up covers tasks many homeowners overlook: attic insulation checks, crawlspace moisture control, HVAC filter changes, and safety inspections. Technicians identify small issues before they become expensive repairs, like hairline cracks in flashing or failing pipe insulation. You receive a documented report of your home's condition. For busy homeowners, this proactive approach saves time and prevents emergency calls during the coldest weeks of the year.