 ultimate-guide
How to Winterize a Deck for Long-Term Durability
Table of Contents
- What You'll Need Before You Start
- How to Clean a Deck Before Winter
- Choosing the Best Deck Sealer for Winter Protection
- Repairing Cracks, Loose Boards, and Fasteners
- Material-Specific Winterization Protocols
- Safe Ice Melt and Snow Removal Techniques
- Protecting Patio Furniture and Preventing Mold Growth
- Your Deck Winterization Checklist
- Frequently Asked Questions
Last Updated: September 27, 2026
What You'll Need Before You Start
To winterize a deck means cleaning, repairing, and sealing it so moisture, ice, and freeze-thaw cycles can't work into the wood before spring. Done properly, it adds years to the surface and prevents small problems from becoming expensive structural repairs.
- A stiff-bristle scrub brush and a deck-safe cleaning solution
- A garden hose or pressure washer (low pressure only)
- Wood filler and replacement fasteners
- Water-repellent stain or film-forming sealer
- Sandpaper or a sander for spot prep
- A tarp and a snow shovel with a plastic or rubber edge
How to Clean a Deck Before Winter
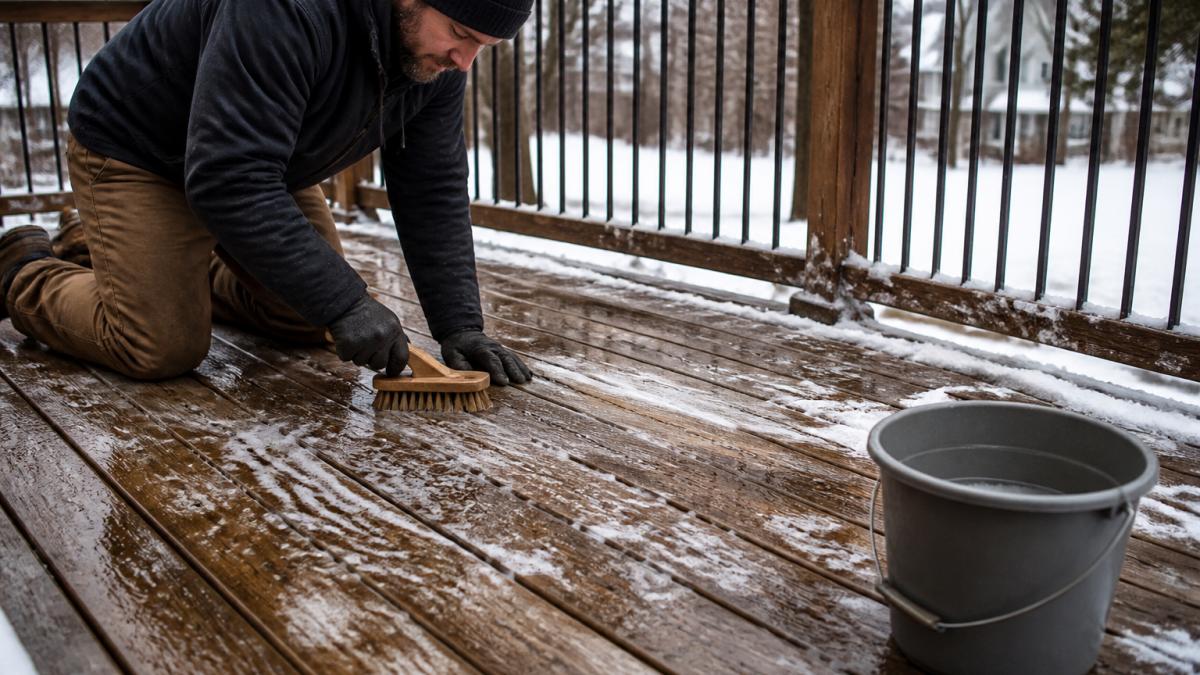
Cleaning is the foundation: sealer won't bond to a dirty surface, and trapped moisture under a fresh coat is how rot and mildew take hold.
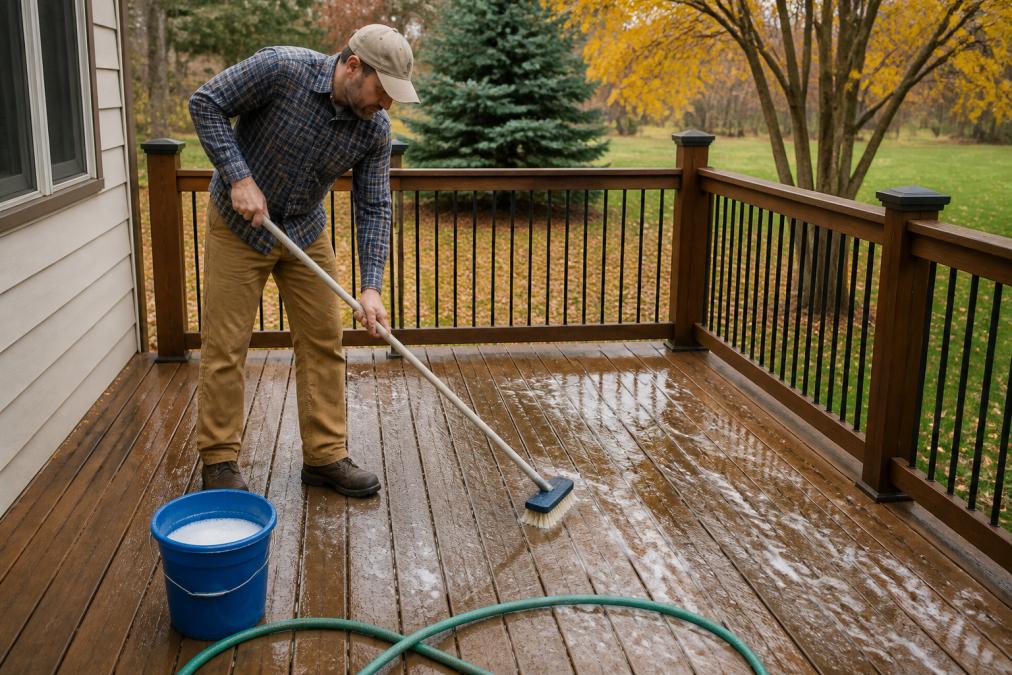
Step 1: Clear the Surface and Inspect for Damage
Remove furniture, planters, grills, and anything on the boards. Then look for soft spots, popped nails, splintered boards, and dark patches that suggest rot, especially where the deck meets the house and around posts and railings, which collect debris and hold water.
Step 2: Scrub, Rinse, and Let It Dry
Apply your cleaning solution and scrub with the grain, then rinse thoroughly. With a pressure washer, keep it on the lowest setting at a consistent distance; too much pressure drives water into the wood and etches the surface. Let the deck dry completely, typically 24 to 48 hours of dry weather, before applying anything.
Choosing the Best Deck Sealer for Winter Protection
The best deck sealer for winter protection is a water-repellent stain, not a film-forming sealer. Stains soak in and let the wood breathe; film-forming sealers sit on top and peel, crack, and trap moisture when freeze-thaw hits. Freeze-thaw is mechanical: water enters a pore, expands roughly 9% as it turns to ice, and pries fibers apart.
Water-Repellent Stains vs. Film-Forming Sealers
| Type | How It Works | Best For | Winter Risk |
|---|---|---|---|
| Water-repellent stain | Penetrates wood fibers, blocks liquid water, allows vapor escape | Most wood decks | Low; allows breathing |
| Film-forming sealer | Forms a surface coat over the wood | Low-traffic, covered decks | Peels and traps moisture |
| Clear water repellent | Adds no color, blocks water | New or lightly worn wood | Low |
Reading the Label Like a Pro
Three numbers on the can matter more than the marketing copy:
- Solids content. Higher solids means a thicker film per coat and longer service life, but also a longer recoat window. A penetrating stain with 20-30% solids behaves very differently from a heavy acrylic with 40%+.
- VOC level. Lower-VOC waterborne products dry faster and are easier to apply in cool weather, but some solventborne formulas penetrate dense hardwoods more effectively. Match the carrier to the wood.
- Coverage rate. Manufacturers publish square-foot-per-gallon figures, usually in a range. Buy to the low end of the range so you don't run short mid-deck, and expect a second coat on porous or weathered boards.
The Moisture-Content Test Before You Seal
Before you open the can, confirm the deck is dry. Tape a 2-foot square of clear plastic sheeting to the boards, wait 24 hours, and check for condensation underneath. If moisture beads up, the wood is still releasing vapor and isn't ready. A pin-type moisture meter gives a harder number; most manufacturers want readings in the low teens or below.
Temperature and Timing Windows
Most water-repellent stains need surface and air temperatures above roughly 50°F and below about 90°F, with no rain for 24-48 hours after application. Fall is a narrow window: warm enough to cure, cool enough to beat the first hard freeze. Read the product's data sheet, since solventborne and waterborne formulas have different minimums.
Matching the Finish to the Material
Match the product to your deck material. Pressure-treated lumber and cedar take a penetrating water-repellent stain well. Dense hardwoods like ipe and mahogany absorb slowly and often want a hardwood-specific oil rather than a film. Composite and PVC boards generally shouldn't be stained at all; they need a manufacturer-approved cleaner and a fastener inspection.
EPA Safer Choice product search for low-VOC deck finishes
Repairing Cracks, Loose Boards, and Fasteners
Repairs come before protection, never after. A crack you seal over will keep opening, and a loose board will keep collecting water at the gap.
Material-Specific Winterization Protocols
Different decking materials need different treatment. Wood, composite, and PVC each react to cold and moisture differently, so the same routine won't serve all three.
- Pressure-treated and cedar wood: Clean, sand lightly, and apply a water-repellent stain. Wood needs to breathe; avoid heavy film coatings.
- Composite decking: Skip the stain entirely. Clean with a manufacturer-approved cleaner and inspect fasteners and hidden clips for corrosion.
- PVC decking: Clean and inspect only. These boards resist moisture on their own, but trapped debris between boards still causes staining.
- Hardwood (ipe, mahogany): Use a penetrating oil or hardwood-specific finish. These dense woods absorb slowly, so apply in thin coats.
Safe Ice Melt and Snow Removal Techniques
How you handle snow and ice all winter determines whether your fall work survives to spring. Most guides stop at "use a plastic shovel" and miss the two forces that actually shorten a deck's life: chloride-driven corrosion of fasteners and frost-heave movement under the footings.
Shoveling Without Gouging the Surface
Shovel with a plastic or rubber-edged shovel, pushing snow with the grain rather than chopping at it. Never chip ice with a metal tool; you'll scar the boards and open fresh grain to moisture. Keep the blade flat instead of angling the edge down, which causes most gouges. On composite and PVC boards, avoid dragging a metal snow rake across the surface; the scratch pattern is permanent and can't be sanded out the way wood can.
The Chemistry of Ice Melt
Deicers lower water's freezing point, but at different temperatures and with different collateral effects:
- Sodium chloride (rock salt). Effective down to roughly 15°F. Cheap and widely available, but the chloride ion is aggressive toward steel fasteners, aluminum flashing, and nearby turf and shrubs.
- Calcium chloride. Effective at much lower temperatures, often down to around -25°F. It generates heat as it dissolves, which is why it works fast, but it is also the most aggressive common deicer toward metal and concrete.
- Magnesium chloride. Works at lower temperatures than rock salt with somewhat less corrosion impact, though it still introduces chloride to the soil.
- Potassium chloride. Better known as a fertilizer; it melts ice only at relatively mild temperatures and can burn plant roots at high concentrations.
- Acetate-based deicers (calcium magnesium acetate, potassium acetate). Chloride-free and far less corrosive to metal and landscaping, but they cost more and work best in moderate cold. These are the closest thing to a deck-safe and landscape-safe option.
- Sand and grit. No melting action at all, but they add traction without introducing chemicals. A common approach is sand for traction plus a light application of an acetate-based melt only on high-traffic paths.
Protecting Fasteners and Flashing
Every winter you apply chloride, you accelerate corrosion on the fasteners holding your deck together. Coated and stainless steel screws resist this far better than bare steel or electroplated hardware. If your deck was built with standard galvanized or bare fasteners, consider a hardware audit this season. Pay particular attention to the ledger board attachment and flashing where the deck meets the house; chloride-laden meltwater pools there and corrodes the connection carrying the deck's load.
Frost Heave and Load-Bearing Capacity
Frost heave happens when soil beneath a footing freezes, expands, and lifts the footing unevenly. On a deck, that shows up as a rocking step, a railing pulling away from a post, or a board sitting proud of its neighbors. The fix is rarely cosmetic: address drainage around the footing, confirm footing depth meets local frost-depth requirements, and in some cases add a footing or re-level a post.
A Note on Snow Load
Wet snow can weigh roughly 20 pounds per cubic foot, and a foot of it on a 12-by-16-foot deck adds well over a ton of load. Most residential decks are engineered for a live load around 40 pounds per square foot, but that margin assumes the structure is sound. If you doubt the condition of the framing or ledger, clear snow in stages rather than letting it accumulate, and have the structure inspected before the next season.
EPA guidance on chloride deicers and water quality
Protecting Patio Furniture and Preventing Mold Growth
Furniture left out through winter is a mold and mildew problem waiting to happen. Moisture collects under cushions and between slats, and by spring you're scrubbing fabric instead of enjoying the deck.
Your Deck Winterization Checklist
Use this checklist to winterize a deck in order and confirm nothing gets skipped:
- Remove all furniture, planters, and grills from the deck
- Inspect boards, railings, posts, and the ledger board for damage
- Clear debris from between boards and around posts
- Clean the surface with a deck-safe solution and rinse
- Let the deck dry fully (24-48 hours of dry weather)
- Replace corroded or popped fasteners
- Fill cracks with exterior wood filler and sand smooth
- Replace any soft or rotted boards
- Apply a water-repellent stain or the correct finish for your material
- Allow full curing time per the product instructions
- Clean and store furniture; cover what stays outside with breathable covers
- Stock a plastic-edged shovel and a wood-safe ice melt
- Re-inspect in spring for frost heave, loose fasteners, and new cracks
Frequently Asked Questions
Do I need to seal my deck every year before winter?
Not necessarily. Most wood decks need sealing every two to three years, but high-traffic decks or those in harsh climates may need it annually. Test by sprinkling water on the surface: if it beads up, the sealer is still working. If it soaks in immediately, it's time to reapply. Using the best deck sealer for winter protection and checking it each fall will save you from unnecessary work.
What are the most common signs of winter deck damage?
Watch for popped nails, cracked or splintered boards, loose railings, and dark spots that suggest rot or mold. Frost heave can lift footings, creating uneven surfaces. After winter, walk the deck and check for soft spots, especially around posts and stairs. Catching these early prevents small issues from becoming structural problems. A post-winter inspection is a key part of any deck winterization checklist.
Should I cover my deck furniture during the winter months?
Yes, covering or storing patio furniture protects it from snow load, UV damage, and moisture that leads to mold and mildew. Use breathable covers to prevent condensation buildup. If you leave furniture out, elevate it slightly and secure covers so they don't trap water. For long-term durability, clean and dry furniture before covering, and store cushions indoors to avoid rot and pests.
How can I prevent mold and mildew growth on my deck during winter?
Mold and mildew thrive in damp, dark conditions. Before winter, clean the deck thoroughly and apply a water-repellent sealer to keep moisture out. Ensure proper drainage so water doesn't pool. Trim back vegetation to increase airflow and sunlight. If you see dark spots, treat them with a deck cleaner and a soft brush. Addressing moisture now prevents rot and keeps your outdoor living space safe.