 how-to
Preventing Frozen Pipes in Winter: Step by Step
Table of Contents
- Before the Freeze: A Prioritized Step-by-Step Checklist
- What Temperature to Keep House to Prevent Pipes From Freezing
- How to Insulate Water Pipes in Exposed Areas
- Should You Let Faucets Drip to Prevent Freezing?
- Protecting Outdoor Faucets, Hoses, and Draft-Prone Plumbing
- How to Winterize Pipes in a Vacant House
- Identifying, Thawing, and Handling a Burst Pipe
- Frequently Asked Questions
Last Updated: October 17, 2026
Before the Freeze: A Prioritized Step-by-Step Checklist
Preventing frozen pipes in winter step by step starts with one number: 55. That is the indoor temperature we tell every homeowner to hold, even when nobody is home.
This guide walks through the whole sequence, from October prep to the morning a pipe bursts. Below, we show you exactly what to do first, what can wait, and where most homeowners waste effort.
Here is the order that matters most:
- Seal drafts and air leaks near plumbing (cheapest, fastest win)
- Insulate exposed pipes in basements, crawl spaces, and exterior walls
- Disconnect and drain garden hoses
- Set the thermostat and leave it there
- Know where your main water shutoff valve is
- Plan your drip strategy before the first hard freeze
What Temperature to Keep House to Prevent Pipes From Freezing
The short answer is 55 degrees Fahrenheit. The U.S. Department of Energy's home heating guidance recommends keeping the thermostat steady day and night during freezing weather, and 55 is the floor we use for occupied and vacant homes alike.
Why not lower? Because interior wall cavities run colder than the room you stand in. A 55-degree living room can hide a 35-degree pipe behind the kitchen cabinets.
A few practical rules:
- Never shut the heat off completely, even for a weekend trip.
- Keep interior doors open so warm air reaches bathrooms and closets.
- Open cabinet doors under sinks on exterior walls during cold snaps.
- Skip the overnight setback. The savings are small next to a repair bill.
If you are away from home for weeks, keep the heat on at 55 and ask someone to walk through the house.
How to Insulate Water Pipes in Exposed Areas
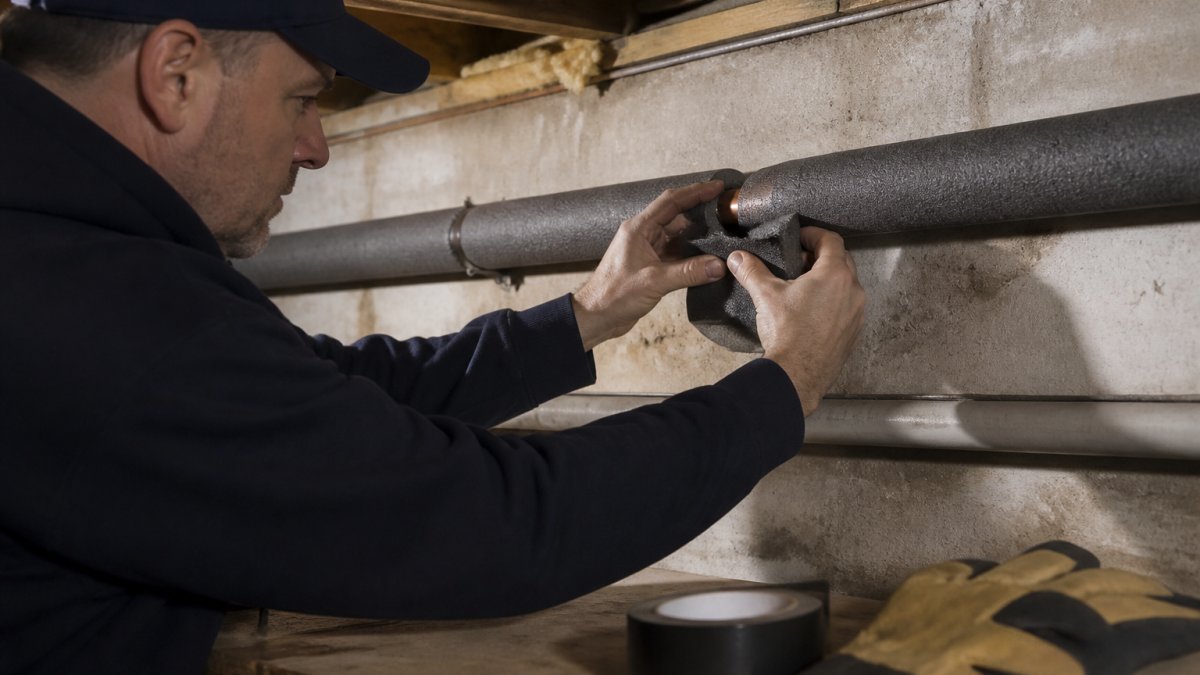
Pipe insulation is the highest-value hour you will spend. Focus on water pipes in basements, crawl spaces, garages, and any run along an exterior wall.
Pick the right material for the run
- Foam pipe sleeves (closed-cell): split tubes that press over the pipe. Match the sleeve's inside diameter to the pipe's outside diameter, a 1/2-inch copper pipe needs a 1/2-inch sleeve, not a 3/4-inch one that leaves an air gap. Most hardware stores stock sleeves in 1/2-inch through 2-inch sizes and in 6-foot lengths. Closed-cell foam is the default for exposed runs because it resists moisture and is easy to cut with a utility knife.
- Fiberglass wrap: good for odd angles, valves, and short stubs where a rigid sleeve will not fit. Wrap it snugly and tape the seams; fiberglass loses performance when it gets wet, so keep it dry.
- Heat tape (heating cable): a plug-in cable for pipes that freeze repeatedly or run through unheated space. Buy only UL-listed products and follow the label exactly. Self-regulating cable adjusts its output to temperature and is the safer choice for a homeowner installation; constant-wattage cable needs a thermostat and must never be overlapped or bunched.
Size and install it correctly
- Measure the pipe's outside diameter with a tape or caliper, not by eye. Copper, PEX, and CPVC have different outside diameters for the same nominal size.
- Buy sleeves that match, plus a roll of insulation tape and a few zip ties.
- Slide or press the sleeve over every exposed run. On a split sleeve, the seam should face down so condensation drains away.
- Tape every seam and joint. Cold air gets under an untaped seam and defeats the wrap.
- Wrap heat tape first, directly on the pipe, then insulate over it. Never cover a heat tape plug or thermostat with insulation, those parts need to sense air temperature.
- Leave the pipe's shutoff valve handle exposed so you can reach it in an emergency.
Where most homeowners stop too early
A common mistake is insulating only the straight runs and leaving joints, elbows, and valves bare. Those are the spots that split first because they hold water and have less mass.
Also insulate the cold-water line, not just the hot. A cold line in an exterior wall is the one most likely to freeze, and many homeowners only wrap the hot side because it feels more urgent.
If a run sits in a crawl space that stays below freezing for days, insulation alone may not be enough. Pair it with heat tape on the most vulnerable section, or close off the crawl space vents for the winter if your local code allows it.
Should You Let Faucets Drip to Prevent Freezing?
Yes, but only the right faucets, and only a trickle. A slow drip relieves pressure inside a pipe that is starting to freeze, which lowers the chance of a burst.
How much is enough:
- A pencil-lead stream, not a full flow.
- Cold water only. Hot water does not help and wastes energy.
- Choose the faucet farthest from where the water line enters the house.
- Run fixtures on exterior walls too, especially on the second floor.
Where dripping does not help: a pipe in an unheated crawl space that has already frozen solid. The drip protects pressure, not the ice.
Protecting Outdoor Faucets, Hoses, and Draft-Prone Plumbing
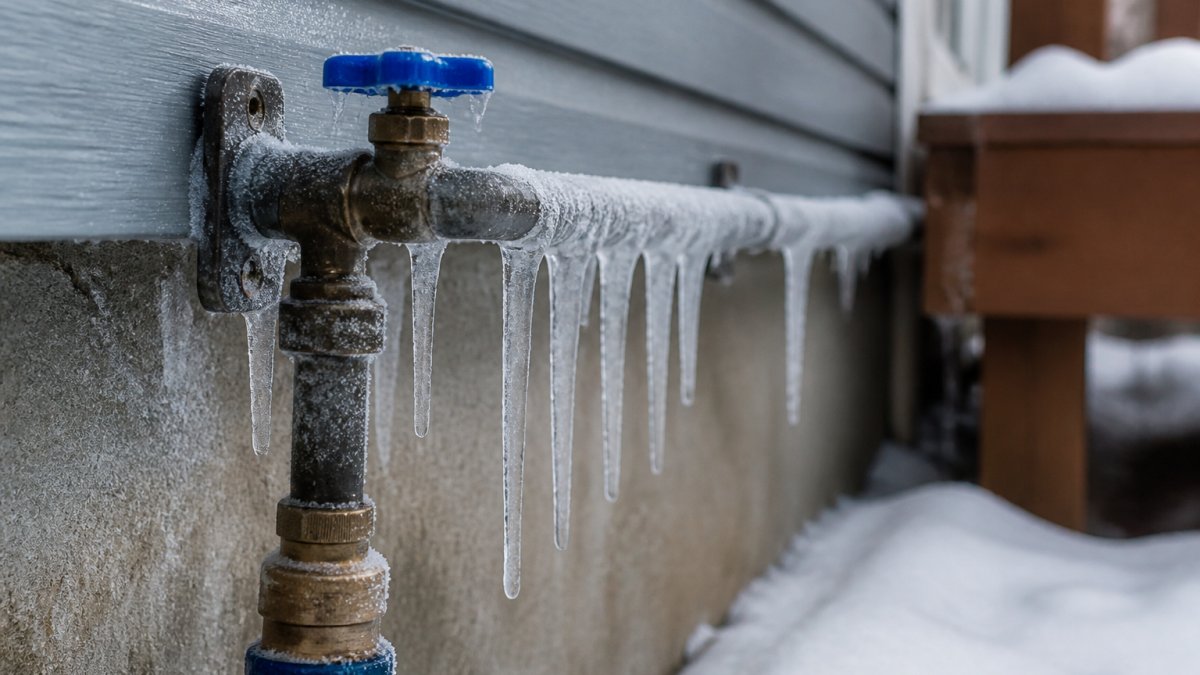
Outdoor plumbing is where most winter water damage begins. Disconnect every garden hose before the first freeze. A hose left attached traps water in the faucet and splits the pipe behind the wall.
Then:
- Shut off the indoor valve feeding outdoor faucets, if you have one.
- Open the outdoor faucet to drain what is left.
- Fit an insulated faucet cover over frost-proof faucets.
- Drain and store hoses and sprinkler lines.
- Seal gaps around pipes where they pass through siding or the foundation.
Drafts matter more than people expect. Cold air pouring through a foundation gap can freeze a pipe that would otherwise be fine. Use caulk or expanding foam around every penetration.
How to Winterize Pipes in a Vacant House
An empty house is the highest-risk scenario. How to winterize pipes in a vacant house comes down to two choices: keep the heat on, or drain the system completely.
Option A: Keep the heat on. Set the thermostat to 55, leave interior doors open, and have someone check the house weekly.
Option B: Drain the system. Shut off the main water valve, open every faucet, flush toilets, drain the water heater, and blow out lines with compressed air.
| Situation | Best Approach | Why |
|---|---|---|
| Weekend trips | Heat at 55, faucets dripping | Low effort, low risk |
| Seasonal home, monthly visits | Heat at 55, weekly checks | Keeps systems exercised |
| Months empty, no supervision | Full drain and blow-out | Removes the water entirely |
| Home with a well pump | Drain plus pump shutdown | Well lines freeze fast |
Identifying, Thawing, and Handling a Burst Pipe
No heat, no water flow, or a faucet that hisses and sputters points to a frozen pipe. The hard part is finding which pipe and deciding whether to thaw it yourself or call a licensed plumber. This section gives you the sequence most guides skip.
Step 1: Confirm it is a freeze, not a shutoff
Before you tear into anything, rule out the obvious. Check that the main water valve is open, that the water heater is working, and that no one shut off a fixture valve. A frozen pipe usually shows a pattern: one faucet weak or dead while others run fine, or a whole side of the house affected because a single trunk line froze.
Step 2: Trace the affected line
Work backward from the dead fixture toward the main. Check the coldest runs first: exterior walls, crawl spaces, the line feeding an outdoor faucet, and any pipe in an unheated garage. Feel the pipe where you can reach it, a frozen section is cold to the touch and may show frost or condensation. If the pipe is behind drywall, look for a bulge, a stain, or a cold spot on the wall.
Step 3: Thaw with decision points
- If the pipe is visible and intact: apply heat with a hair dryer, a space heater kept clear of flammables, or an electric heating pad. Start at the faucet end and work toward the freeze so melting water can escape. Keep the faucet open while you thaw.
- If the pipe sits behind a wall: raise the room temperature, open cabinet doors, and wait. Do not cut into drywall until you have shut off the water, a pipe that is already split will spray the moment it thaws.
- If the pipe is bulged or split: stop. Shut off the main water valve immediately and treat it as a burst, not a freeze.
- If you cannot reach the pipe or it does not thaw within a few hours: call a licensed plumber. Inaccessible pipes in slabs or exterior walls are not a homeowner job.
Never use an open flame, a blowtorch, or a charcoal heater on a pipe. That is how house fires start, and the pipe can crack from the sudden heat.
Step 4: If a pipe bursts, follow this order
- Shut off the main water valve. Know where it is before this happens. If you live in an apartment, find the unit shutoff.
- Open a low faucet to drain pressure and pull water away from the break.
- Cut power to any wet electrical area at the breaker before you walk through standing water.
- Document the damage with photos and video for your insurance claim.
- Call a licensed plumber and, if the damage is significant, your insurer. Water damage compounds by the hour, mold can begin within 24 to 48 hours in a wet wall cavity.
When to stop troubleshooting
Stop and call a professional if the frozen pipe is inside a slab, behind finished drywall you cannot access, or if you smell gas or see electrical arcing. A licensed plumber has the tools to thaw safely and to repair a split line before it floods the house.
Frequently Asked Questions
What temperature should the house be to avoid freezing pipes?
Keep the thermostat at 55 degrees Fahrenheit or higher at all times, including overnight and while you are away. Pipes freeze when the air around them drops below 32 degrees Fahrenheit, and interior wall cavities run colder than the room you are standing in. Setting back to 55 degrees Fahrenheit protects the plumbing without wasting energy. If a cold snap is forecast, raise it a few degrees rather than lower it, and open cabinet doors on exterior walls so warm air reaches the pipes.
Should I let faucets drip when temperatures drop below freezing?
Yes, a slow drip on the faucets served by exposed pipes relieves pressure and reduces the chance of a burst. A steady trickle is enough; you do not need a full stream. Choose the faucet farthest from where the water line enters the house, and use the cold side since hot water lines can pull heated water unnecessarily. During extreme cold, dripping a faucet is a supplement to heat and insulation, not a replacement for either.
How do I know if a pipe is frozen rather than just slow?
A frozen pipe shows no water flow at one fixture while others run normally, frost on the visible pipe surface, or a bulge in the line. Feel along exposed pipes in basements, crawl spaces, and against exterior walls for a section that is cold to the touch and possibly frosted. If only one faucet is affected while the rest of the house runs fine, the blockage is likely close to that fixture. Shut off the main water valve before you begin thawing.
What should I do if a pipe bursts?
Shut off the main water valve immediately, then open the lowest faucet in the house to drain remaining water and reduce pressure. Cut power to any electrical fixtures near the leak at the breaker. Move furniture and valuables clear, document the damage with photos, and call a licensed plumber. Do not use an open flame to thaw anything. For homes that sit empty part of the year, a proactive winterization visit before you leave prevents most of these emergencies.